Tuesday, March 6, 2018

This is truly sad. George will be missed.


March 2, 2018
To all concerned…
It saddens me to announce the sudden death of George Buehler.
George died February 28, 2018 at age 69 of complications following an aortic aneurism and emergency surgery. 
George would be honored that in lieu of flowers, donations be made to WAIF at https://waifanimals.org
Whidbey Animals' Improvement Foundation is a non-profit organization which was formed in 1990 in an effort to help Whidbey Island's homeless companion animals.
Another important organization is Old Dog Haven at 
https://olddoghaven.org/
His business George Buehler Yacht Designs at this time will be closed. Any future information of his memorial service or future business details will be provided at a later date.
George is survived by his wife Gail Buehler.
Sincerely,
Susan
Office

Thursday, November 30, 2017

Cedar walls in galley.

Galley shelves

Drawers in stateroom.

Drawers

Galley finishing's

Shelves in closet in stateroom with water storage  

Shower pan. Plywood base with glass and epoxy. Cedar shims added to give slope towards drain.

Completed pan not yet painted.

Kitchen cabinets

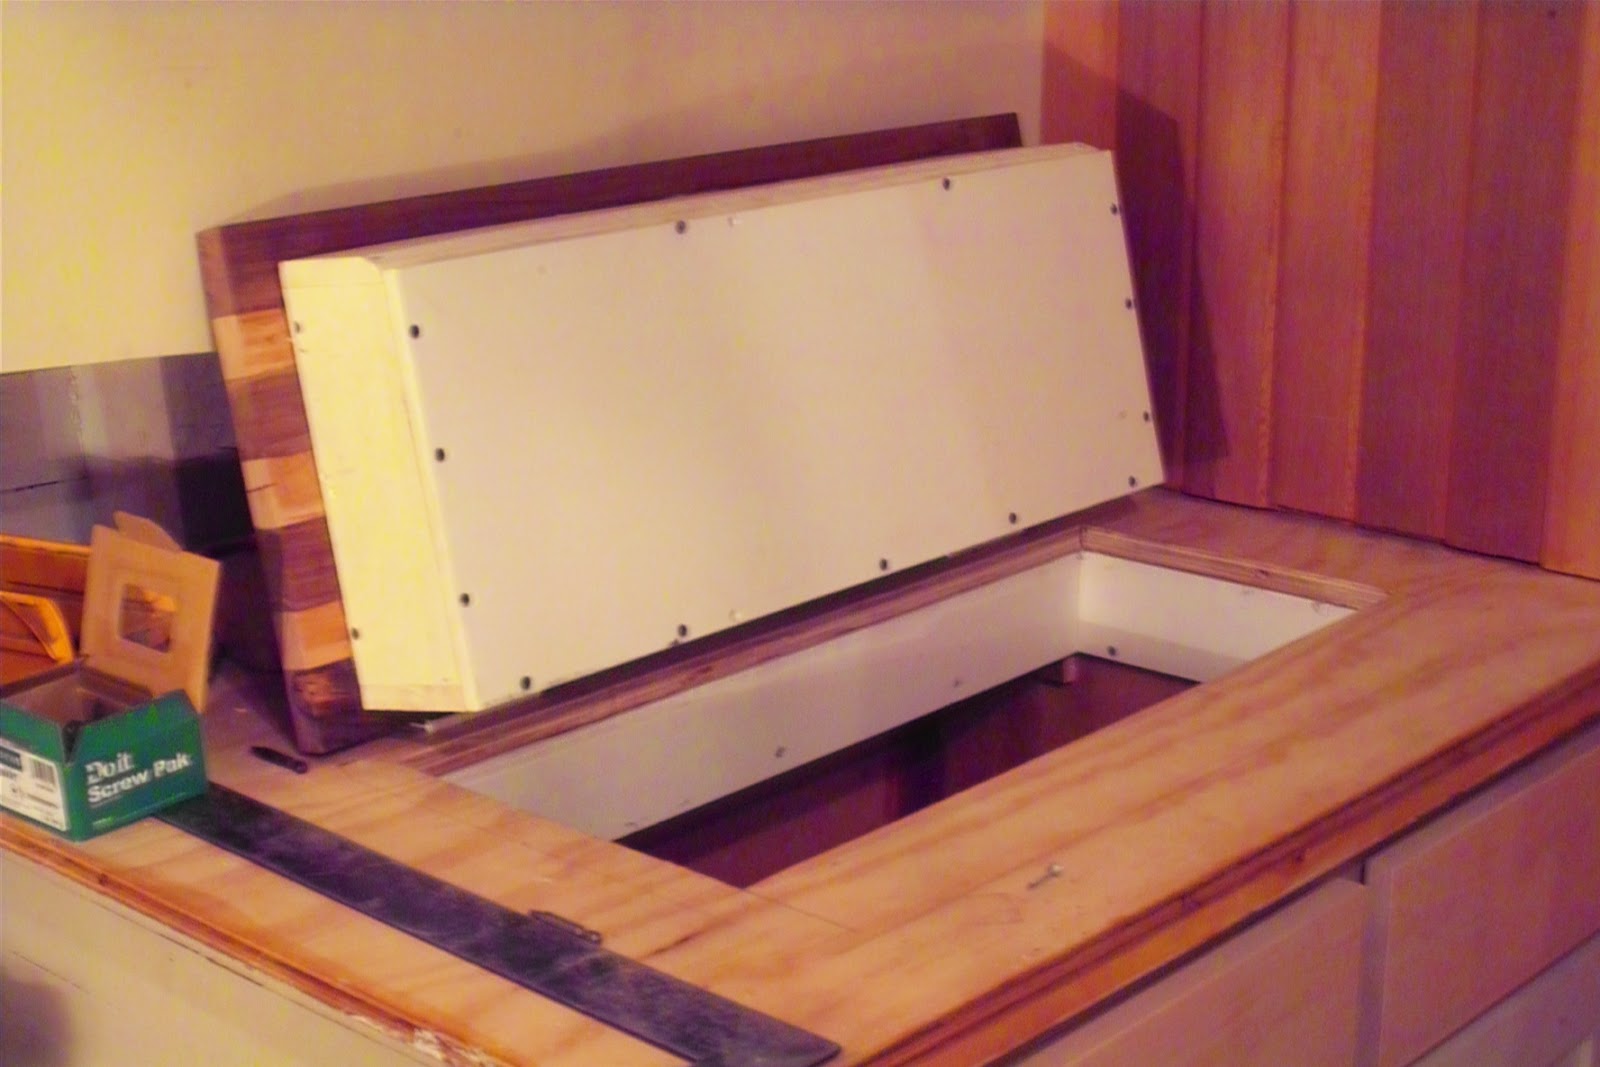
Ice box. Intend on using block ice, but may install a cold plate.

Cutting board top of ice box. 
Monday, November 13, 2017

Galley cabinet doors

More doors galley

Ice box made of plywood

Many overlapping and taped Foam to be added to ice box

At this time I would like to point out, that I have been working on this project for about 10 years. I  have not lost interest in it and I am continuing to work on it. I lost two years due to Sandy, the major storm the Northeast had 5 years ago, at which time I may have worked on the boat maybe 10 days total. I have not kept up with this Blog and my progress on the boat far exceeds the posts on this site.  At this point I am going to post some pictures showing progress and at some time I will go back and explain what I did. Bottom line is my time is better spent on the building of the boat at this point. I would love to get into detail of every aspect of the construction of this boat, however it seems that life just gets in the way.  I will however attempt to keep up on construction pictures and answer any questions or comments the viewers may have. Thanks for following. Joe
Built  two water tanks with about 160 total gallon capacity. Used plywood with baffles. Then clothed the corners and coated inside and out with epoxy. 

Tank shape to fit with the boat design.

Will set on top of keel an conform to the bottom of the hull.

Water tested
Painted the exterior


Inspection Ports


Tanks set


Tanks set below galley floor. Two water tanks I built and a forward plastic tank for grey water. This view if from forward looking back towards the center of the boat.


Decks all covered with 3 layers of 3/8" plywood. First layer is MDO and the other two Douglas- Fir  Ruby checking out the nailing pattern

Friday, January 15, 2016

Fuel Tanks

Fuel tanks by Patriot Marine in Forked River NJ.
Paul the owner is a great young guy and his pricing is fair!

Below is one of two tanks under the galley floor.


Below is one of two main diesel tanks which will saddle the engine.

The cradles were constructed first, then a template as shown was made and given to Paul and he did his magic.

All totaled about 900  Gallons. May also have a Day tank. Still up in the air!

Cradle and template


Port side Tank                               
                                                                                                                                                                                                                           

Monday, December 28, 2015

Carlin


Carlin
               A longitudinal deck framing member (i.e., one that runs fore and aft).


This picture shows the notching of the deck beam at station # 8. The sloping notch is 3" wide and will receive a 3" carlin which will be 2- by's laminated together and run from station # 8 back to the bulkhead at stateroom.  The sloping notch is cut into the deck beam deeper at the top of the deck beam, maybe 3/4" and almost flush at the bottom of the deck beam, thus keeping the carlin from sliding down and the carlin top remains flush with the deck beam.


The carlin ( the 2 by to the left in the picture below) is above the sheer height thus giving
the gunwale short deck beams a slope or a crown. The gunwale short deck beams are also notched into the first carlin layer with a sloping notch. Each beam is then  bolted to the frame and are all the same length giving the carlin the curved shape of the sheer.


Once all the gunwale short deck beams are in place the second layer of the carlin is glued and nailed.

And finally the carlin is in and assumes the shape of the boat. The gunwale deck beams can be planned to make a crown and the carlin will need to be beveled to match the crown of the beams. Once in place the carlins and the deck beams provide a strong gunwale. Knees can be put in under these deck beams attaching to the frames. I did not feel that they were necessary.


Monday, December 14, 2015

Deck Beams Install


After the planking and the aft deck beams are installed as well as the forward deck beams, it's time to install the two bulkheads. This bulkhead separates the engine room from the Stateroom. The second bulkhead divides the engine room from the galley.


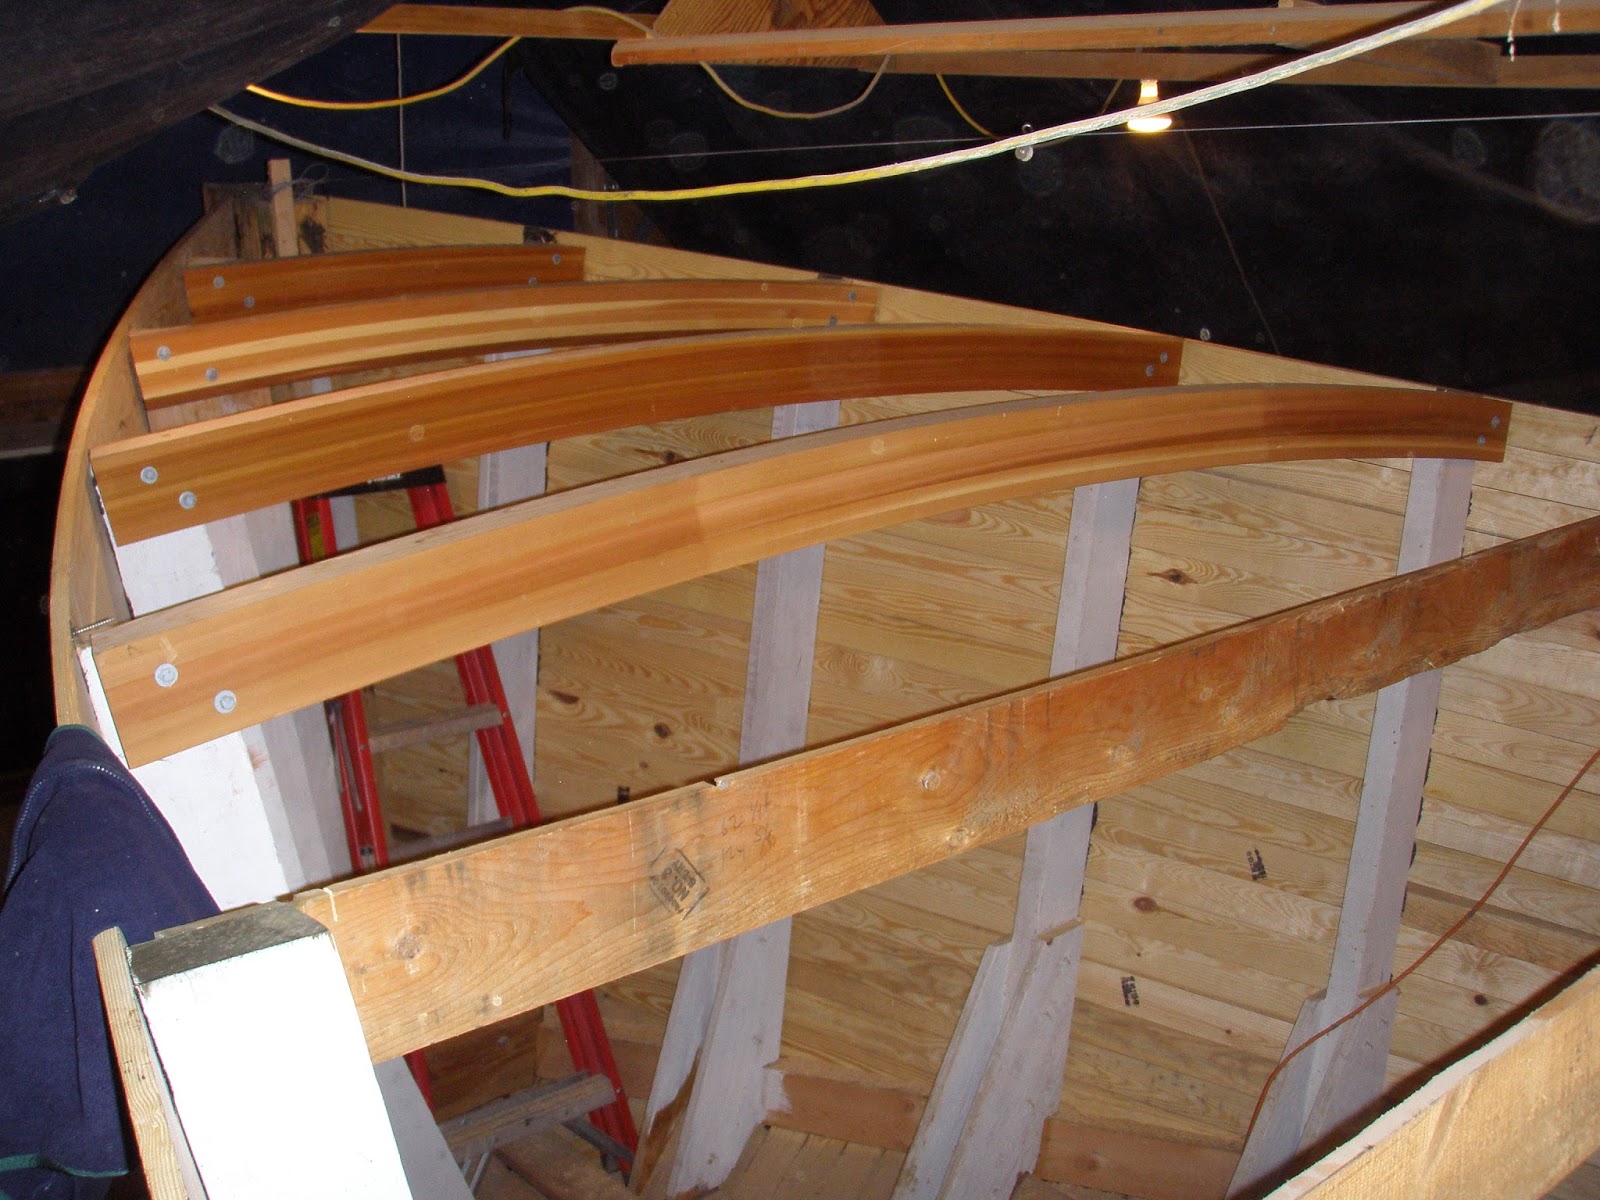
Deck Beams


Now with the top sheer plank off I was able to place the deck beams on the second planking layer and fit the deck beams to the frame. I left a space between the planking and the en of the deck beam. In a wooden boat you want air to circulate.


                                      Bolted each deck beam to the frame and the hull was taking shape.


Forward deck beams.  The Carlin's will attach to the last deck beam shown in this photo, 
or at station 8. We will see this later.


These beams have come a long way since the start of the project. I get more positive comments on the deck beams from visitors than any other part of the boat. That Tung Oil is great!

Planking


 The front planking was two layers of 1" cut in wedge shapes and with directional changes. This was due to the curvature of this area, as seen in the side photo

 Inside view of the planking on the frames starboard side.


Starboard side

Ah! At last, Planking

Planking: This is one of the real fun parts of the building process!  I planked the bottom with
2" by 6" Doug-fir. Layer of tar on all frames and stringers. Nailed and screwed.


Side planking was 1" by 4" Southern Yellow Pine clamped, nailed and screwed over the frames with a layer of tar between the planking and the frames.

             Second row of planking put on first leaving the first row at the sheer off to make it easier to                                                      install deck beams in the future.


Make the planking tight

Moves along once the sheer plan is established 


Used short and long pipe clamps to keep the planking tight.
As you can see I worked from top to bottom
Starting to take shape

Thursday, September 17, 2015

Notching. Oh no the chine!!!!

Now for the notching of the frames for the stringers and the chine. 
 The frames were notched 1.5" deep by 3.5" wide to receive a DF 2x4 stringer from stem to stern and from the keel to the chine on about 18" on center. This I did by putting multiple blades on a skill saw and cutting back and forth till the notch was made. After the notching was completed I placed tar in the notch and clamped on long 2x4's and nailed and screwed the in place.  Lot of work over head but with the sand and sawdust floor it was easy on the knees.
 Now to the Chine. As you see the frames were notched for the chine on the frame table. THIS IS A HUGE MISTAKE IN MY OPINION. I found that most of the pre-cut notches were not even close and had to be re-cut. They also made the laying out of the chine more difficult.  I wasted a lot of time using this method. if I was to do this again I would not cut the notches in the frames till they were in place. Then run a batten around the boat where the chine is to be cut in. Mark it and cut the notches then. Much easier!!!