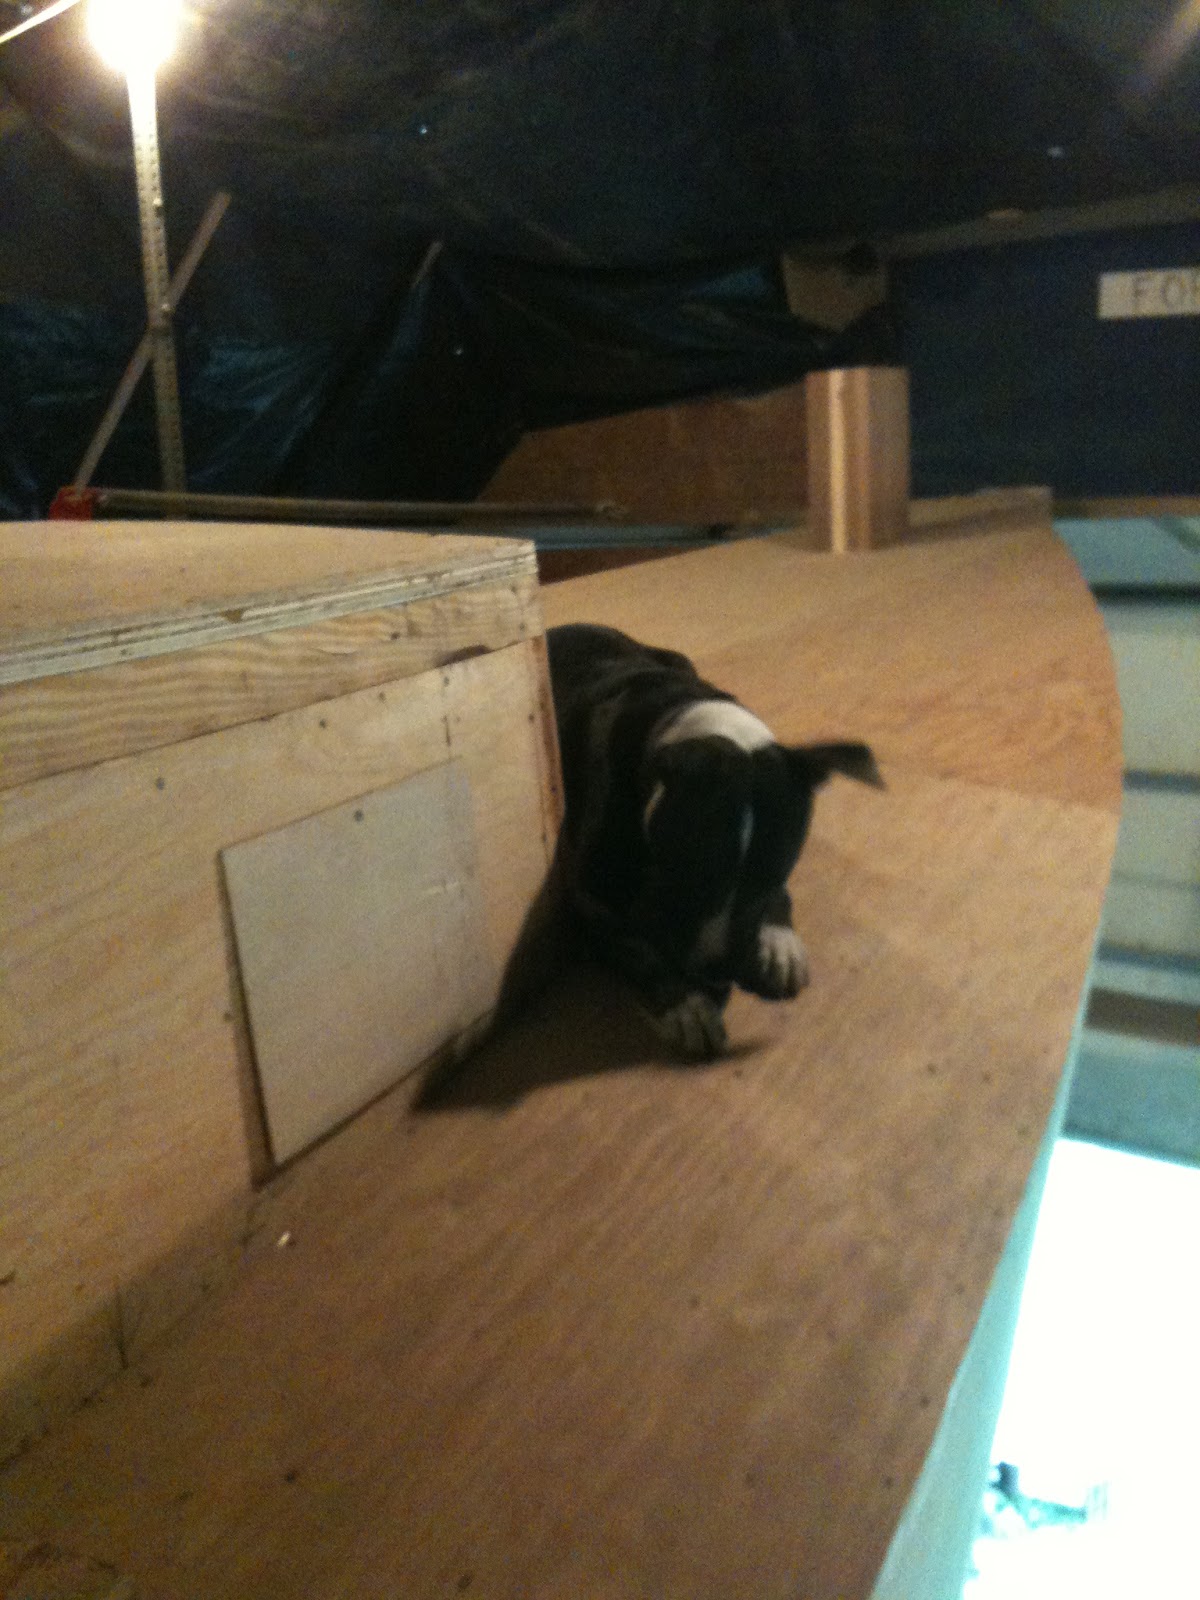
Decks all covered with 3 layers of 3/8" plywood. First layer is MDO and the other two Douglas- Fir Ruby checking out the nailing pattern
Boat designed: George Buehler. Started deck beams on December 1,2004. Keel and deck beams went to the boat shed December, 2006. I have been working on this project for about 10 years and have not lost interest in it. My progress continues. I lost two years due to the storm Sandy. My progress on the boat far exceeds the posts on this site.I am going to post pictures showing progress. Bottom line is building is better than blogging.
Monday, November 13, 2017
Friday, January 15, 2016
Fuel Tanks
Fuel tanks by Patriot Marine in Forked River NJ.
Paul the owner is a great young guy and his pricing is fair!
Below is one of two tanks under the galley floor.
Below is one of two main diesel tanks which will saddle the engine.
The cradles were constructed first, then a template as shown was made and given to Paul and he did his magic.
All totaled about 900 Gallons. May also have a Day tank. Still up in the air!
Cradle and template
Port side Tank
Monday, December 28, 2015
Carlin
Carlin
A longitudinal deck framing member (i.e., one that runs fore and aft).
This picture shows the notching of the deck beam at station # 8. The sloping notch is 3" wide and will receive a 3" carlin which will be 2- by's laminated together and run from station # 8 back to the bulkhead at stateroom. The sloping notch is cut into the deck beam deeper at the top of the deck beam, maybe 3/4" and almost flush at the bottom of the deck beam, thus keeping the carlin from sliding down and the carlin top remains flush with the deck beam.
The carlin ( the 2 by to the left in the picture below) is above the sheer height thus giving
the gunwale short deck beams a slope or a crown. The gunwale short deck beams are also notched into the first carlin layer with a sloping notch. Each beam is then bolted to the frame and are all the same length giving the carlin the curved shape of the sheer.
Once all the gunwale short deck beams are in place the second layer of the carlin is glued and nailed.
And finally the carlin is in and assumes the shape of the boat. The gunwale deck beams can be planned to make a crown and the carlin will need to be beveled to match the crown of the beams. Once in place the carlins and the deck beams provide a strong gunwale. Knees can be put in under these deck beams attaching to the frames. I did not feel that they were necessary.
Monday, December 14, 2015
Deck Beams Install
After the planking and the aft deck beams are installed as well as the forward deck beams, it's time to install the two bulkheads. This bulkhead separates the engine room from the Stateroom. The second bulkhead divides the engine room from the galley.
Deck Beams
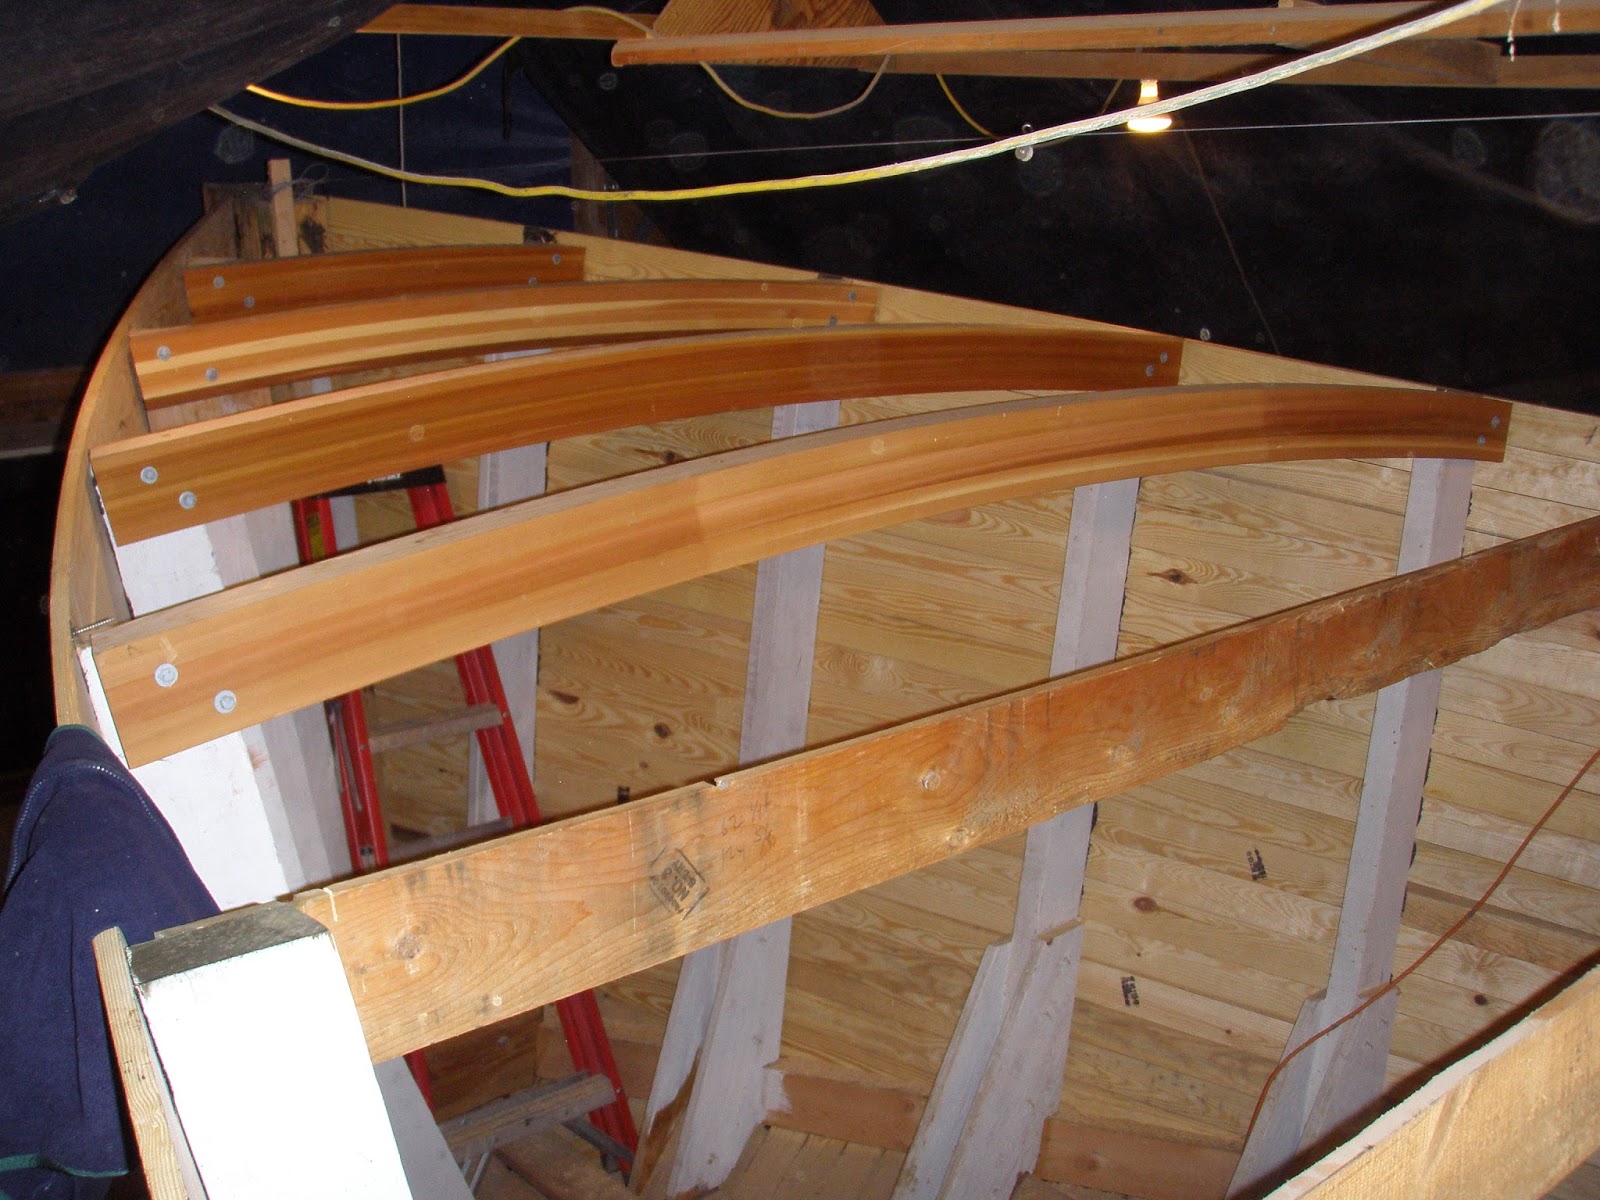
Now with the top sheer plank off I was able to place the deck beams on the second planking layer and fit the deck beams to the frame. I left a space between the planking and the en of the deck beam. In a wooden boat you want air to circulate.
Forward deck beams. The Carlin's will attach to the last deck beam shown in this photo,
or at station 8. We will see this later.
These beams have come a long way since the start of the project. I get more positive comments on the deck beams from visitors than any other part of the boat. That Tung Oil is great!
Planking
Ah! At last, Planking
Planking: This is one of the real fun parts of the building process! I planked the bottom with
2" by 6" Doug-fir. Layer of tar on all frames and stringers. Nailed and screwed.

Second row of planking put on first leaving the first row at the sheer off to make it easier to install deck beams in the future.
Used short and long pipe clamps to keep the planking tight.
2" by 6" Doug-fir. Layer of tar on all frames and stringers. Nailed and screwed.

Side planking was 1" by 4" Southern Yellow Pine clamped, nailed and screwed over the frames with a layer of tar between the planking and the frames.
![]() |
| Make the planking tight |
![]() |
| Moves along once the sheer plan is established |
Used short and long pipe clamps to keep the planking tight.
Subscribe to:
Posts (Atom)